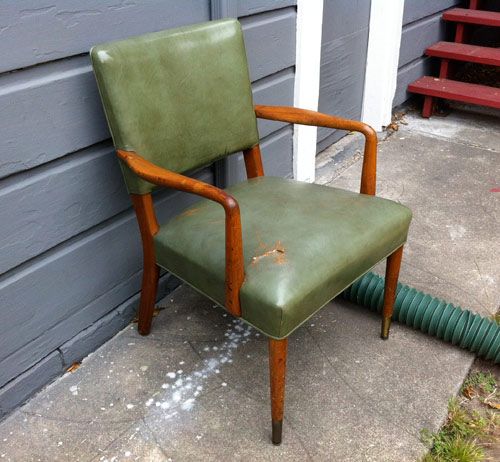
The neighbor across the street was moving and discarded this chair on the sidewalk. Solid wood utilitarian fabulousity from the earlier half of the 20th century. I thought it was vinyl at first, but it turned out to be leather beyond saving. It’s too bad, it was handsome.
This is not the first chair I’ve picked up off the street with intentions of reupholstering, but it’s the first one I’ve actually *done.* I went to Discount Fabrics for upholstery. Their stock constantly shifts and it’s pretty cheap, so I didn’t go in with any strong opinions and went with whatever caught my eye. I was thinking maybe something in a mod pattern or bright tweed, but the winner this visit happened to be magenta velvet. It was the best choice! How can you go wrong with magenta velvet? That’s right, you can’t! I also got some 8oz. batting to pad it out.
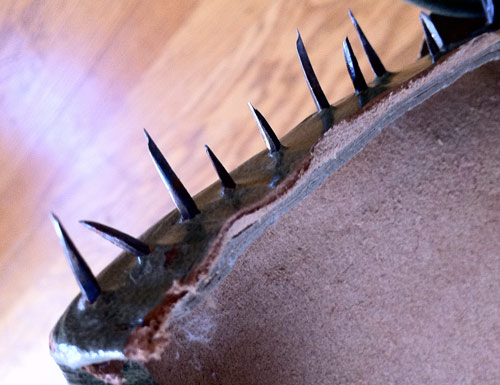
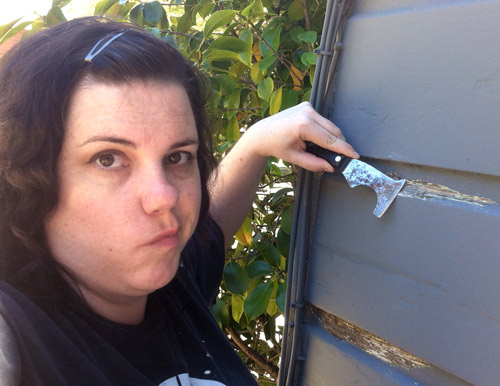
I began by prying off the leather with a flat-head screwdriver. It was very stabby. Lots of this action:
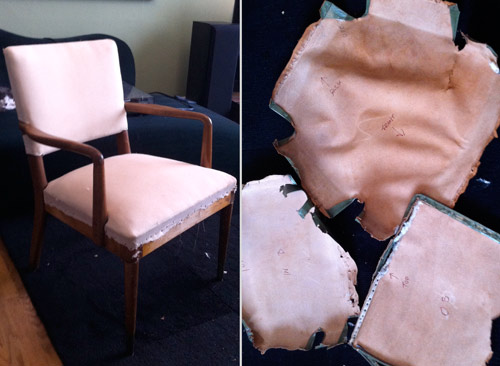
I have newfound respect for upholsterers. Many finger-stabs and skinned knuckles later, I had this and this:
I threw away the old batting and labeled all the pieces (Label first! You’ll forget later.) and noted their orientation in sharpie. Everything you need to know about reupholstering you can learn from taking the chair apart. Take photos if you need to. Make notes about the order in which you took parts off. I had bought upholstery tacks but there were so many on the previous job that I reused a lot of them.
The chair looked pretty good in just muslin, but it was half-naked. It’s a nice chair. It has tied springs and strapping under what you see above, and it’s still in good shape. I started out using the pattern pieces to cut new ones, but allowing enough edge to work with they were basically just large square shapes. So I just cut big pieces and fit them to the chair as I went. I did the same with the batting first, tacking it down at critical points and trimming away the excess. You want the batting to be able to move a little as you adjust and smooth the upholstery over it, so don’t go crazy on attaching it.
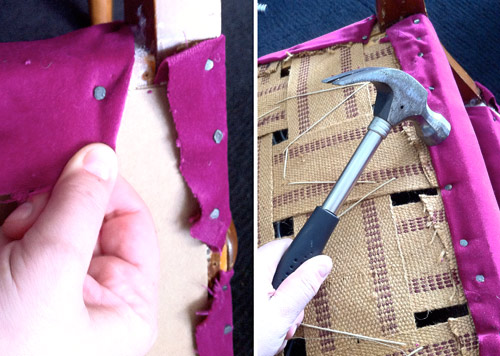
I squared the grain of the fabric with the frame of the chair, and started nailing the underside, six or eight evenly-spaced nails per edge. I did one whole edge of the seat first, starting in the center and smoothing between each nail to keep the fabric from puckering. Oh, and if you care about keeping the wood pristine, use a rubber mallet, not a regular hammer like I did.
Once one side is nailed in, turn the chair over and smooth the fabric in the direction of the opposite edge and do the same on that side. It involves a lot of tugging and nailing at the same time because you want the fabric to be taut, not baggy. Three hands would be useful at this point. I was folding the raw fabric edges under for neatness, but I think I’m going to just cover the underside with that black fabric the pros use and not worry about it. Fold the fabric into hospital corners at the corners of the cushion just like you would when making a bed, and nail those down too.
It’s pretty much done and Mooncookie is into it. It will look more finished if I ever get around to doing the edge piping. Maybe later. Magenta velvet chair!

