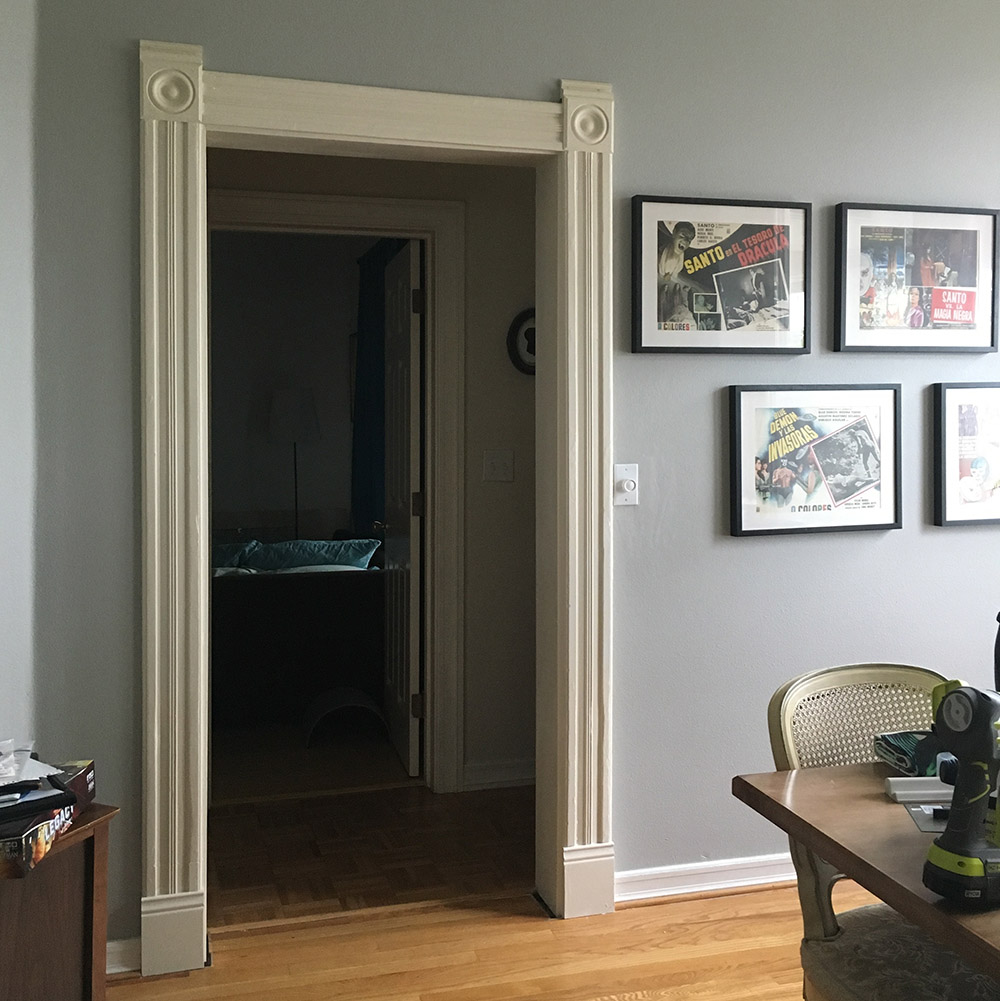
It’s only been a year and a half since we last reported! Well, when you’re not gainfully employed you don’t have the funds for house projects, even DIY. But yer girl has a job now, so let the games begin. Like the last house, this one has had some “makeovers” over the years… All well-intentioned I’m sure, but wow, some ugly choices have been made.
This neighborhood was working class and low income for the second half of the 20th century and many of the stately old houses had fallen into disrepair. In the early 90s our house was rehabbed and it reflects the style of the time. Unfortunately that meant textured ceilings and walls, and many mouldings removed. Mouldings like the ones on all the doorways of the main level. These passages were then lined with orange-peel drywall and nothing else.
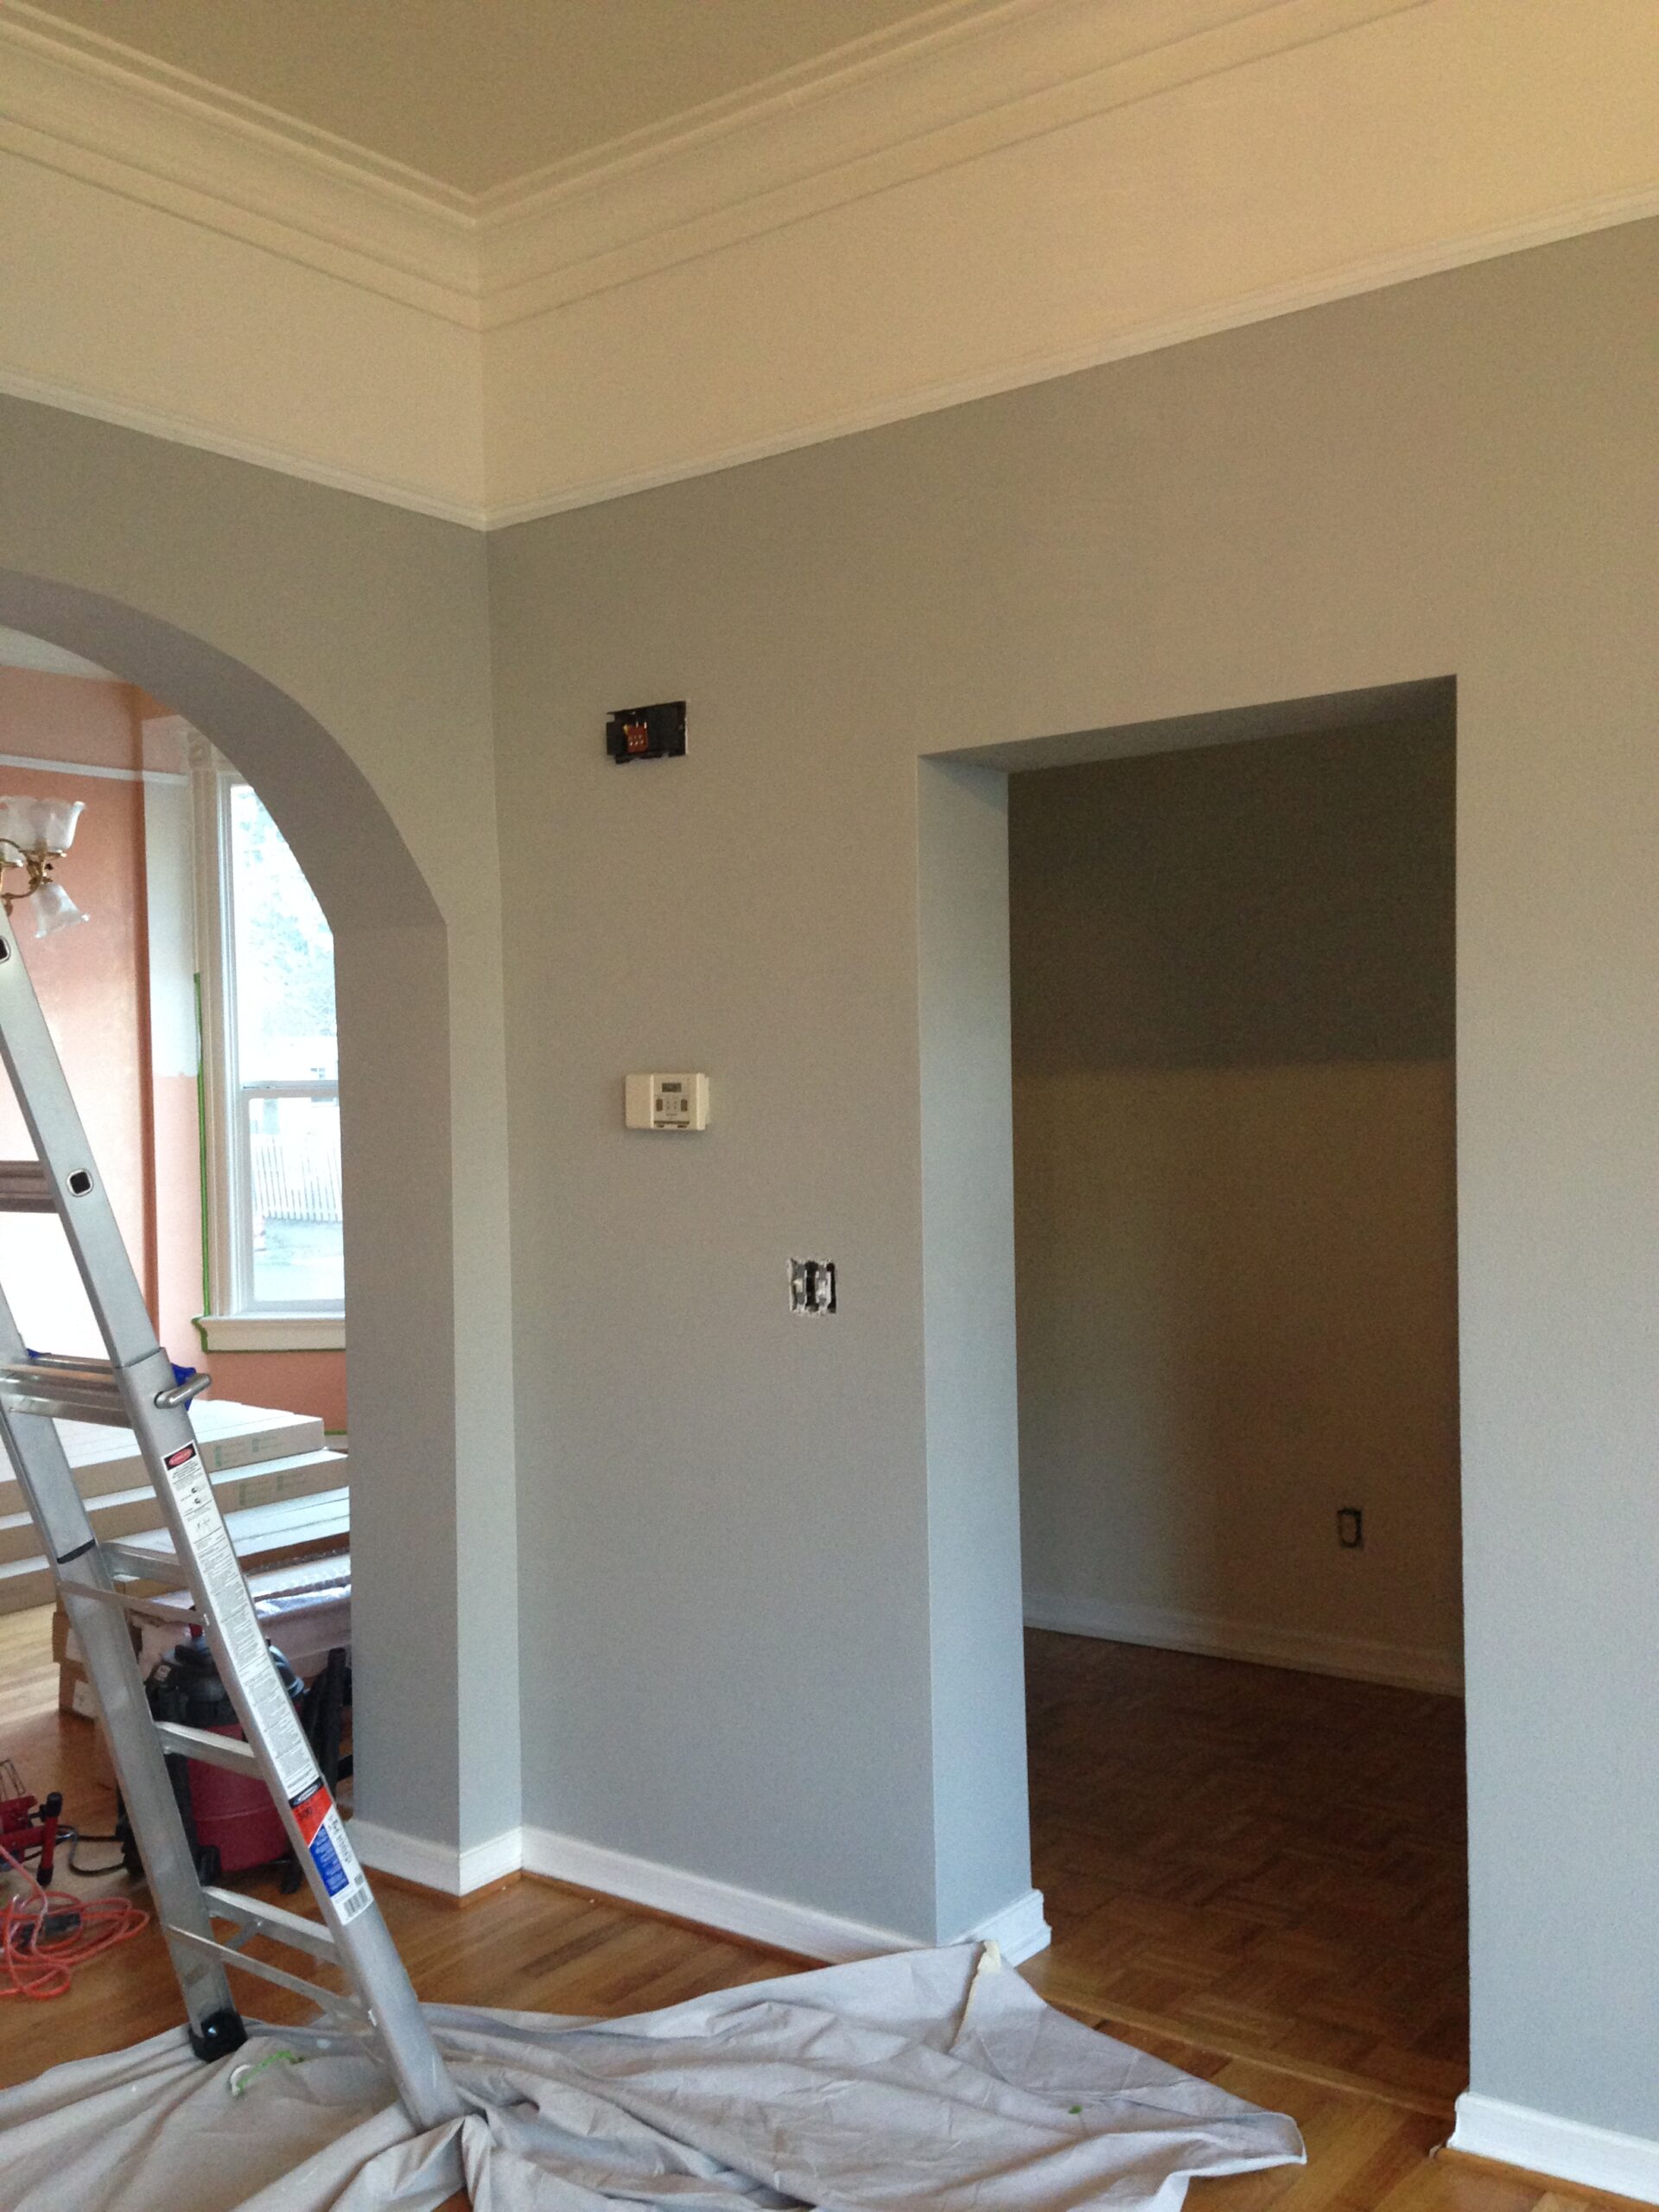
DON’T even get me started on that wonky arch over there. Actually do! This whole thing is really just a practice run for taking that thing down. I want to make sure I know how to frame a doorway before I tear the arch out. Anyway, check out this hideous dining room doorway behind my big head.

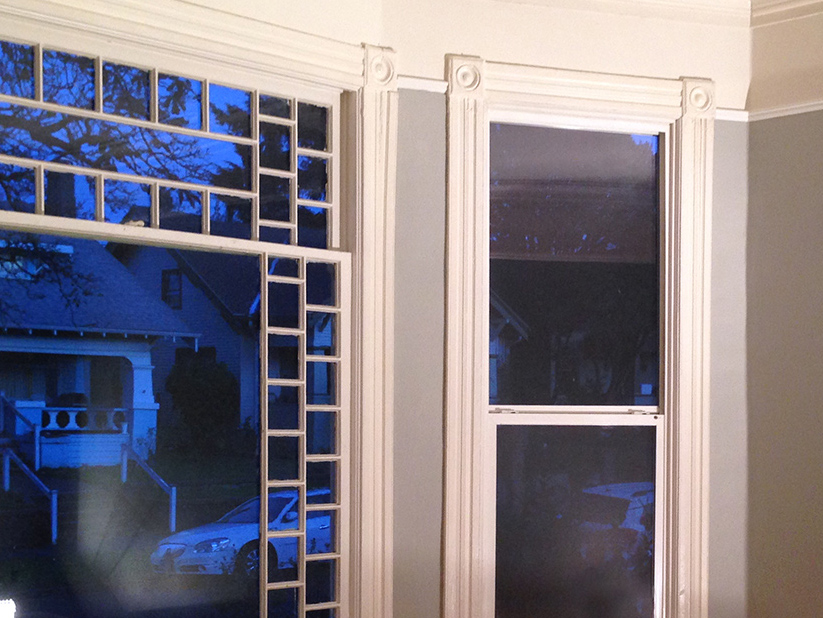
Not all of the house’s mouldings were purged. The living room windows still have the traditional casings and bullseye rosette corners, so it wasn’t hard to guess how the doors should look.
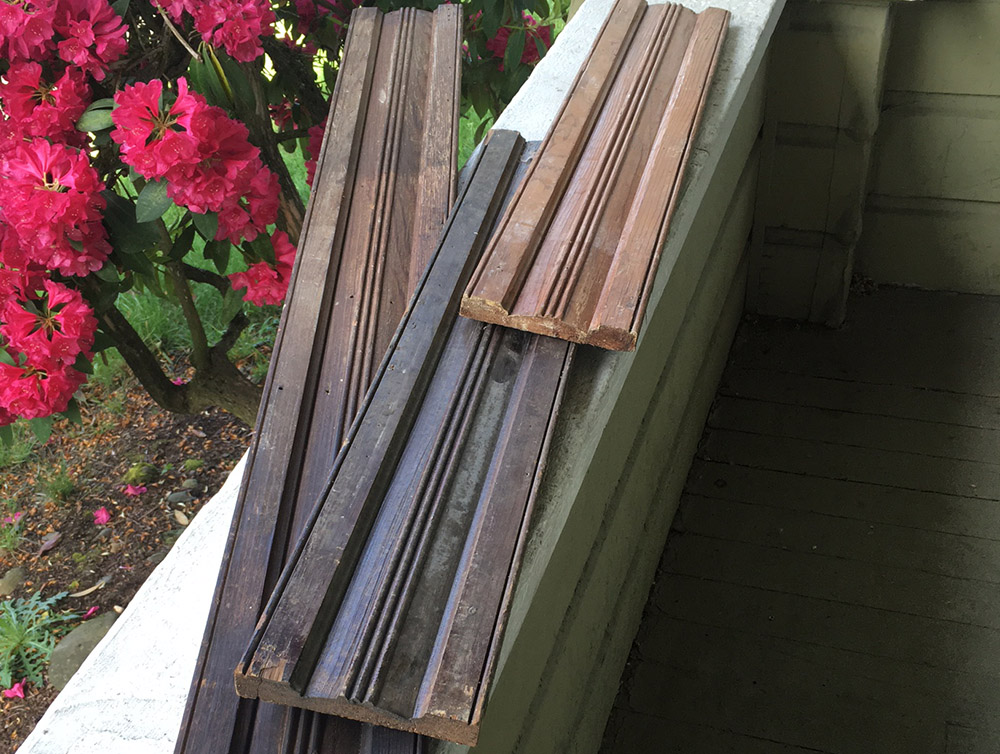
I’ve found moulding at two local salvage places that matches the profile of our window casings. It’s banged up and in pieces of various lengths and finishes, but the flaws seem appropriate to me for the age of the house. Every old house I’ve ever lived in has been well-worn and far from pristine, so to my mind, it fits.
I also found some corner rosettes of the correct size (5.25″) but they didn’t quite match so I bought some newly milled ones as well as some plinth lumber (for the base blocks) from McCoy Millwork. There’s better places for historical woodwork, but these guys are local and I could go in and figure out exactly what I needed in a hands-0n way.
We begin by tearing out the drywall where the door jamb should be. There was good old framing wood beneath it, but it was far from square. Witness my attempts to shim it into a right angle:

Once the jamb is nailed solidly into the framing, then it’s just a matter of applying the appropriate casing around it to cover your tracks.

I added the little crown piece to the top of the corner block because I’ve always liked that look. You can see the many dings and holes that the lumber has, but again, that just makes it look to me like it’s always been there.

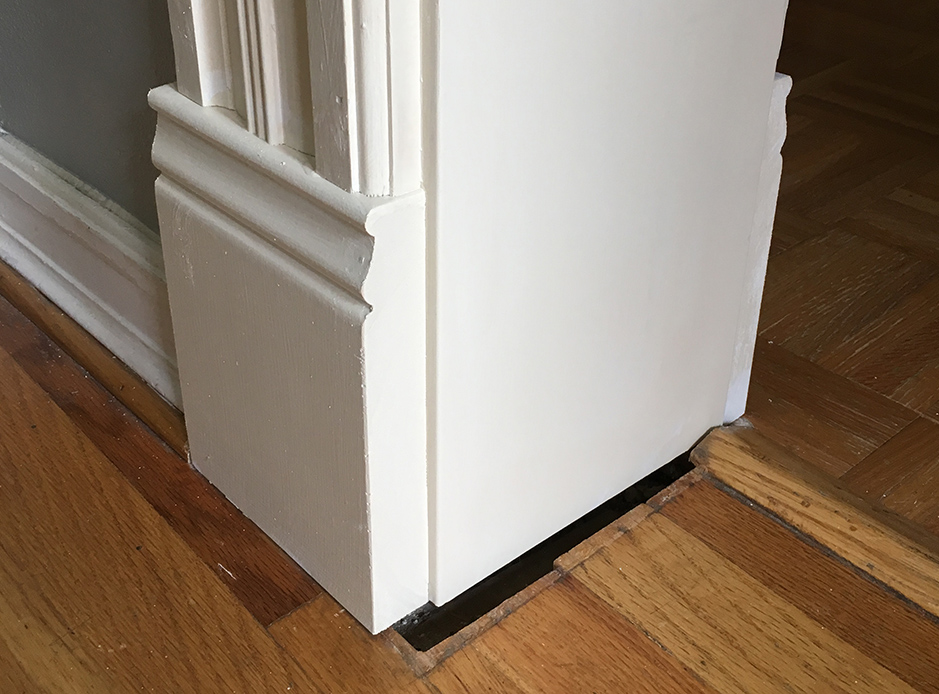
One problem though: The flooring doesn’t extend to the wideness of the new doorway. The drywall that had lined it was really thick and in removing that we’ve gained about a half-inch on either side. I may just throw down some oak quarter-round to cover it.
