
Working on the kitchen has been an exercise in fits and starts. One task would begin, then be delayed, then another part of the project would rear its ugly head. Rinse, repeat. So it’s been hard to figure out a good point at which to write an update here. But here goes.
Application of the ceiling tiles continued as before (I followed this guide). I managed to kill one brad gun and a case of Liquid Nails before I was done. It wasn’t a complicated task, just a laborious one, especially since installing from the center outwards is non-intuitive and the tiles needed to be overlapped in a single direction across the whole ceiling. I used a big guillotine paper cutter to fit the tiles to the edges and the attic door. Did I mention that instead of clear-coating the first 3 tiles I accidentally used white paint instead? Yeah, it took me 2.5 tiles to figure that out. Because of that, I used every last good tile and Randall had to scrub paint off a couple of the ones I messed up.
After about a month of working on it for an hour here or there (and a surprise week in NYC), it was finally all covered.
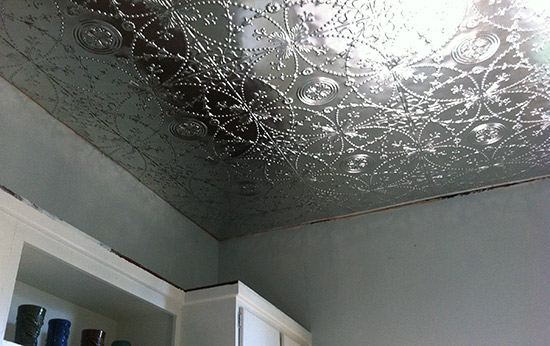
But just as important was the finishing. Crown molding to hide the junction of wall and ceiling and also a molding around the top of the cabinets to give them less of a mid-century look. I started with the cabinets since it would be small, flat pieces of molding that I could handle alone. Measure, cut, paint, nail.
The crown was another story however. A weird, complicated 2-person job. I was heartened by this post, but it seems that a rotten first try is required in the crown molding game. After much second-guessing, heated discussion, and exhaustion, we got it installed. But it’s not our finest work… the lumpy walls and ceiling saw to that. Ooh, that gap!

It IS gappy, no question. But we did the best we could (first timers!) and hopefully the razzle-dazzle factor will make these problems disappear for less critical eyes.
Here’s a little before and after of both the cabinet and crown molding:
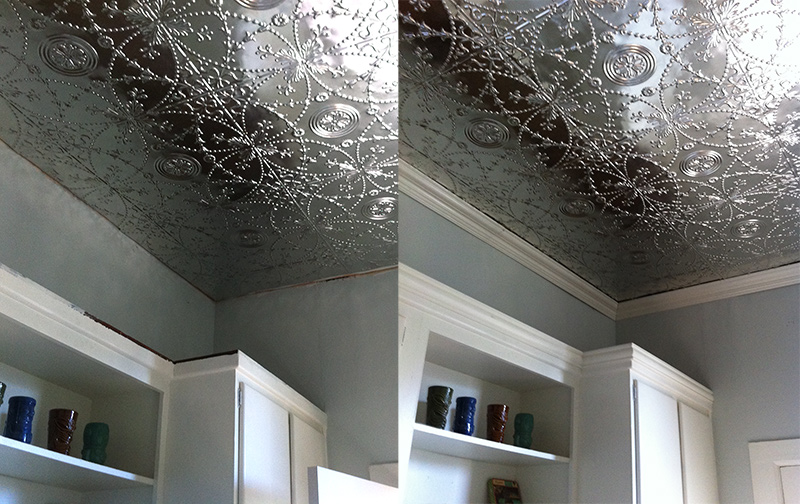
It’s looking pretty smart! Though now that I see it all together the room looks more buttoned-up and proper than I expected. I’m sure we’ll fix that.
Next: The light fixture.