First new house project!

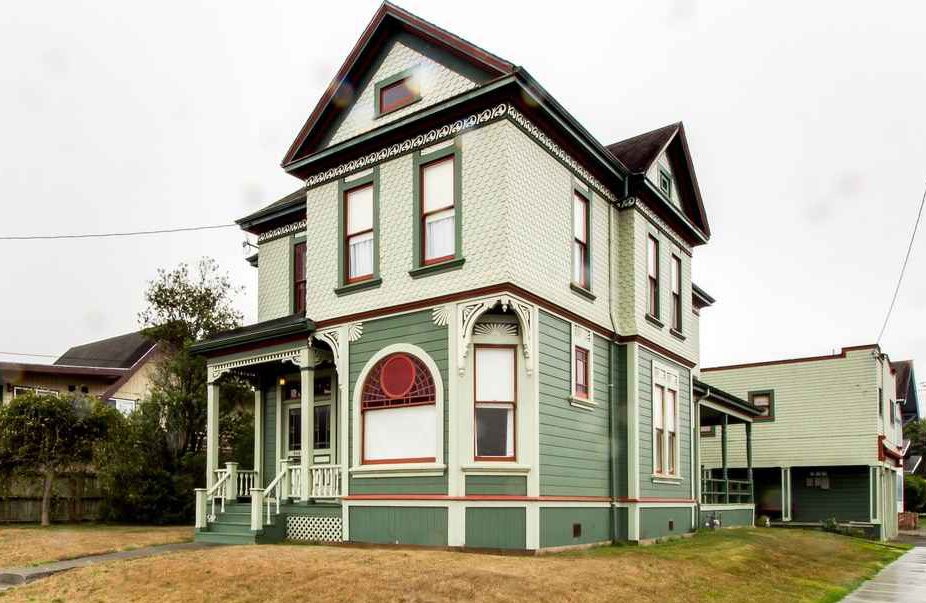
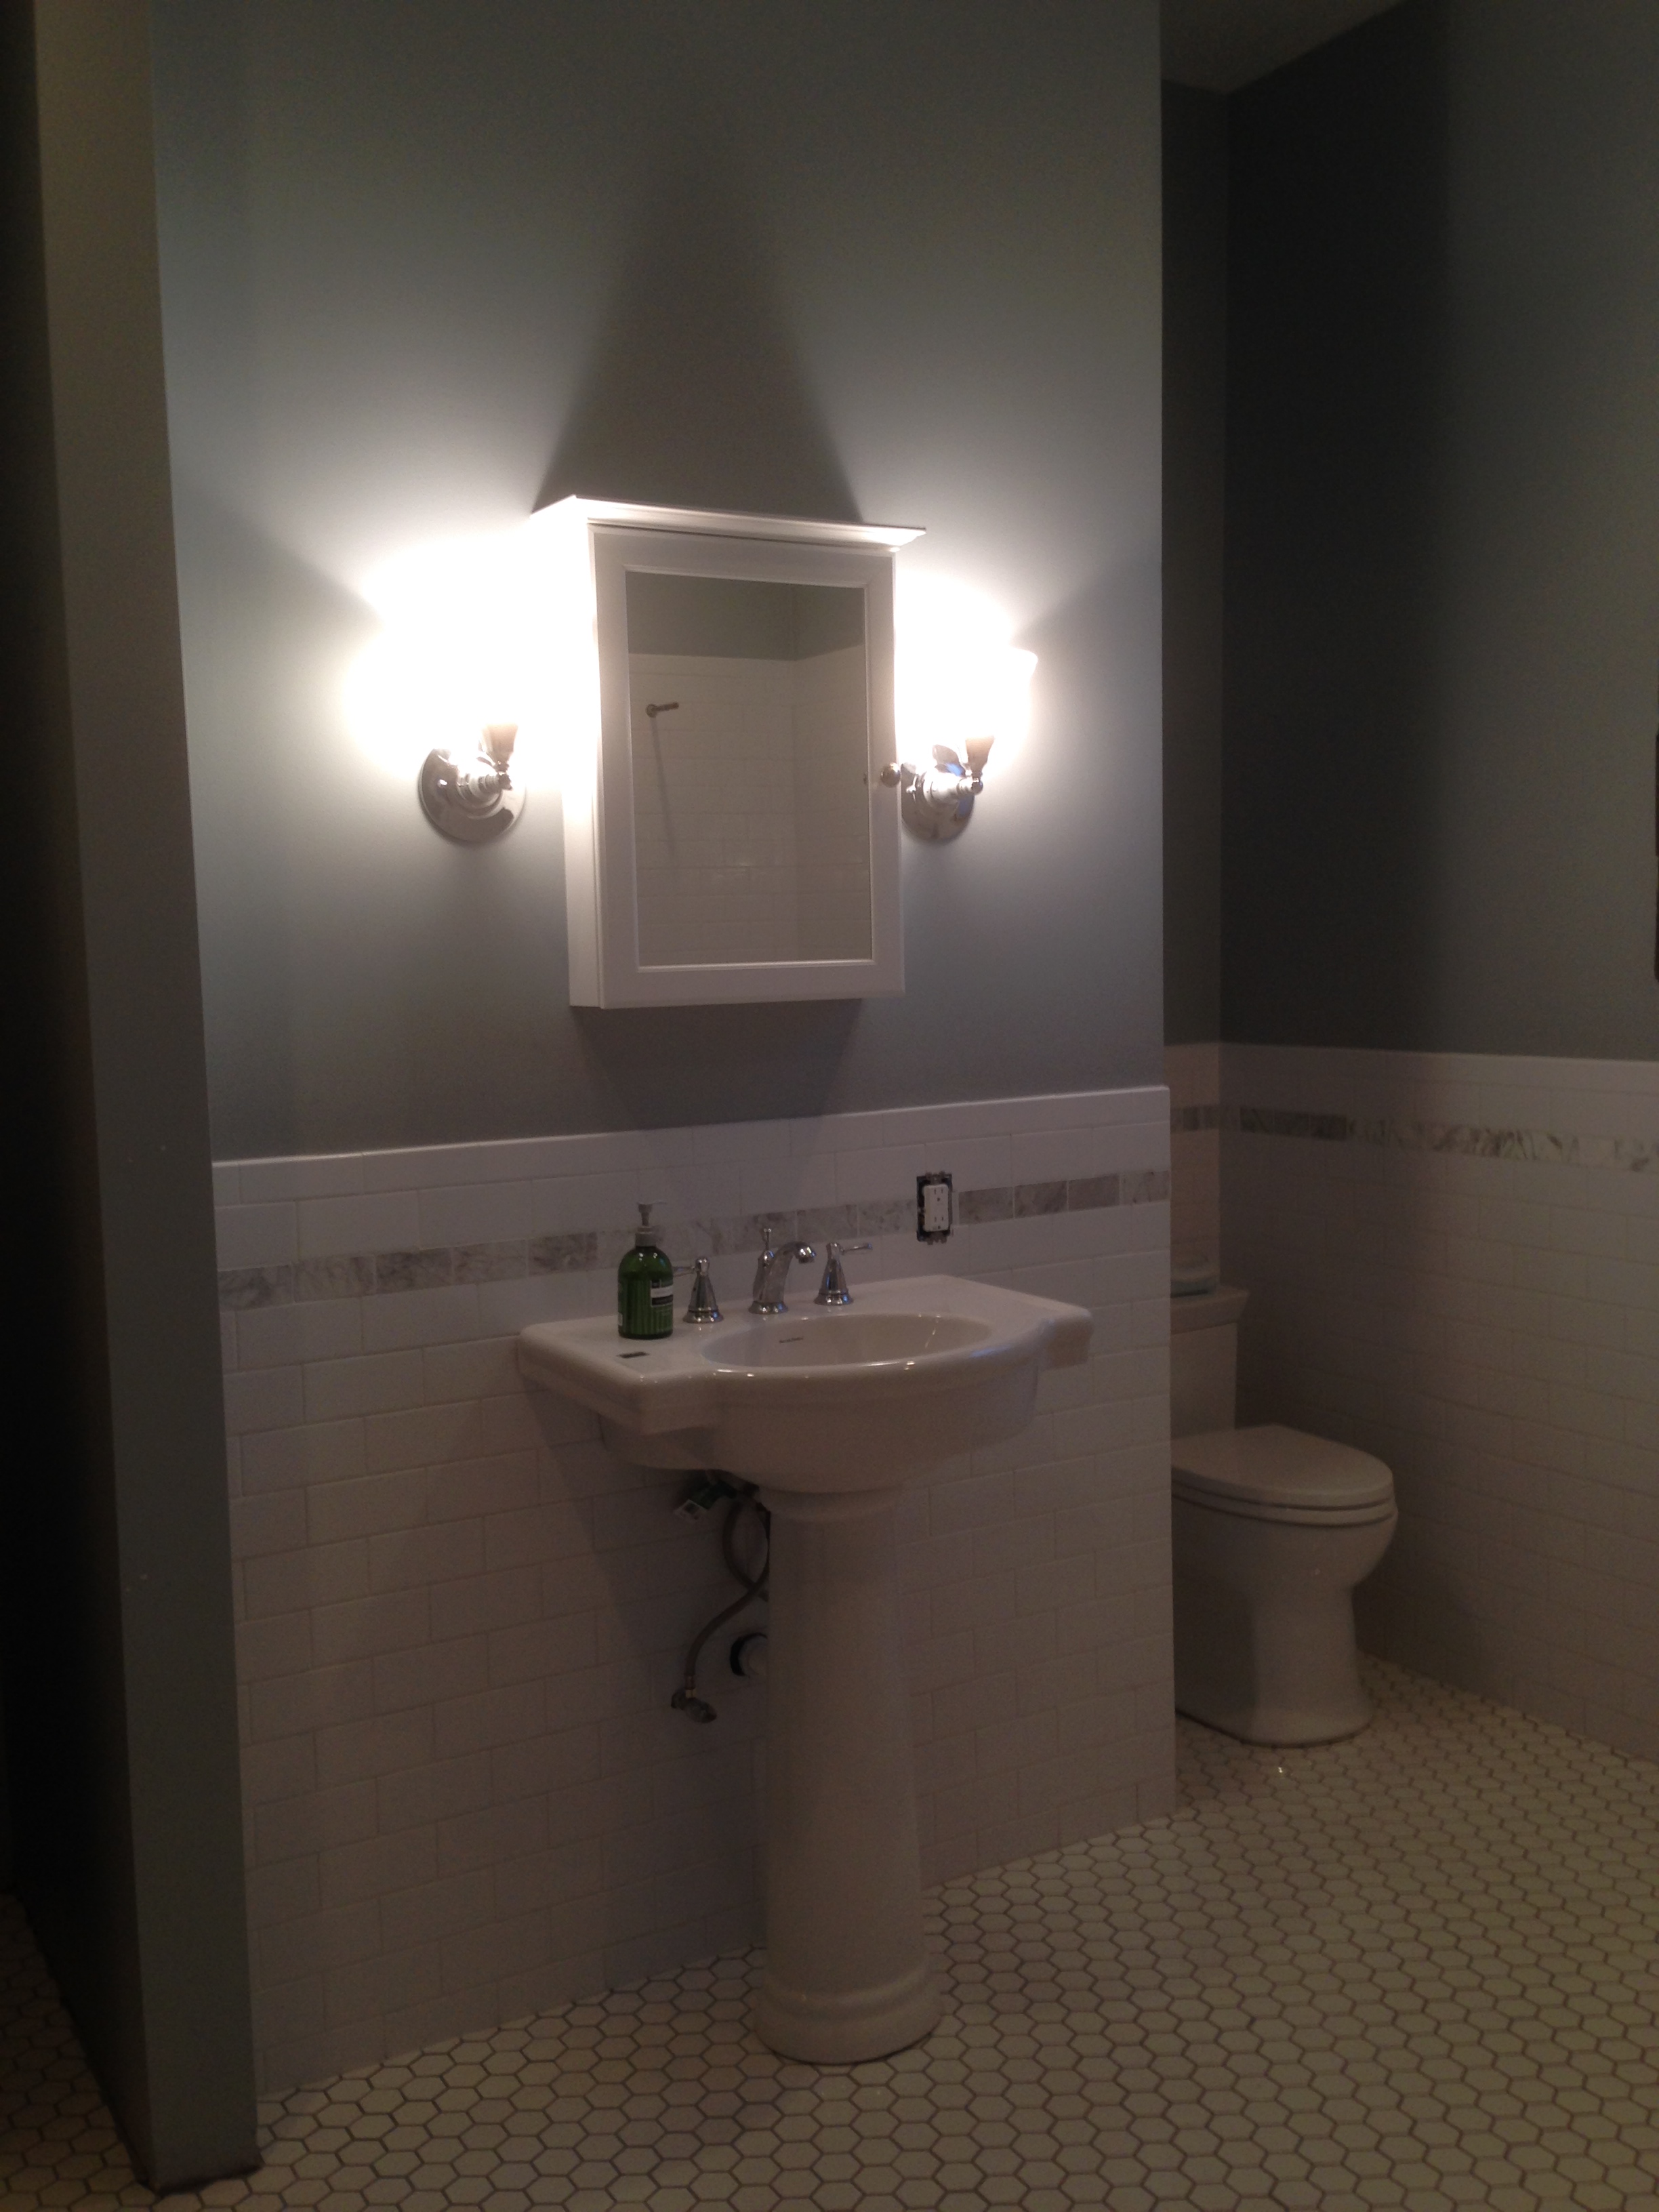
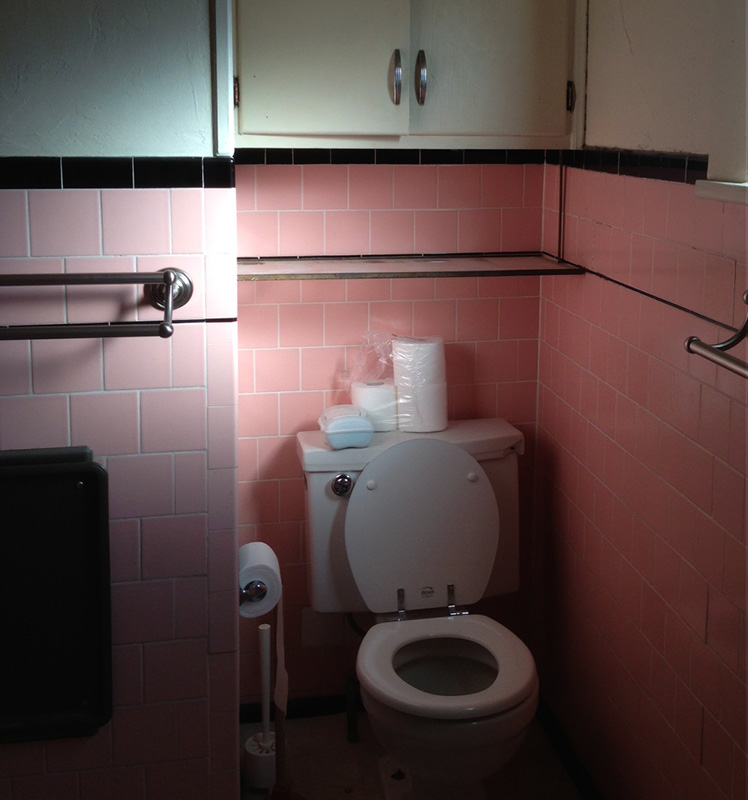
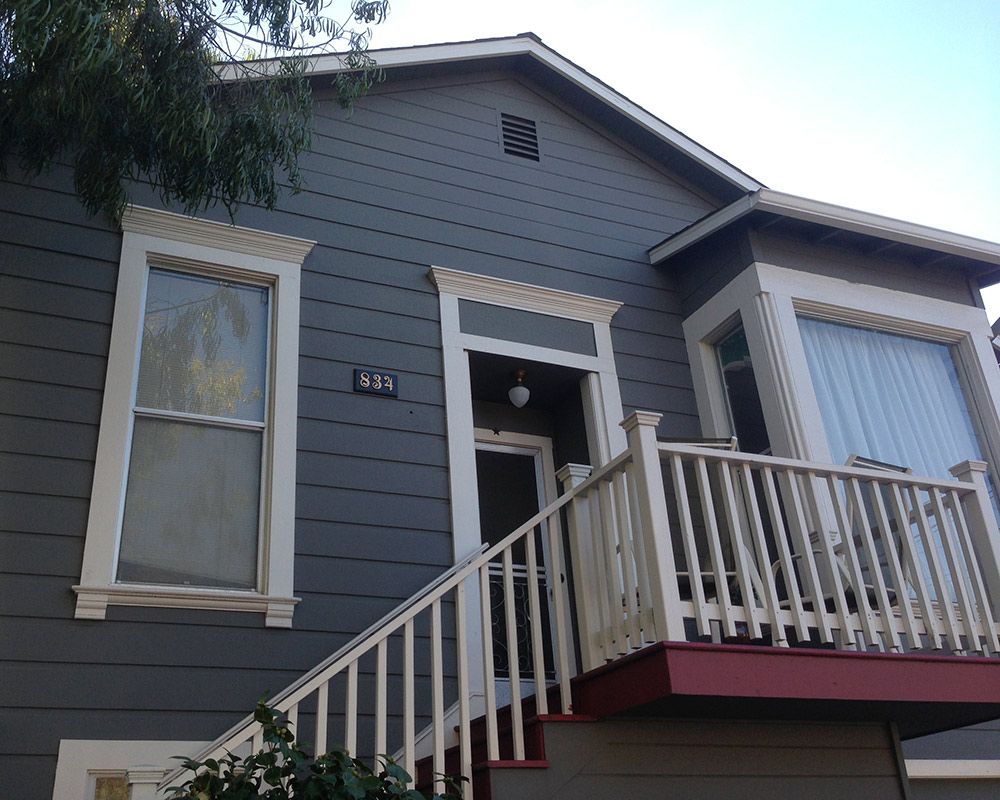
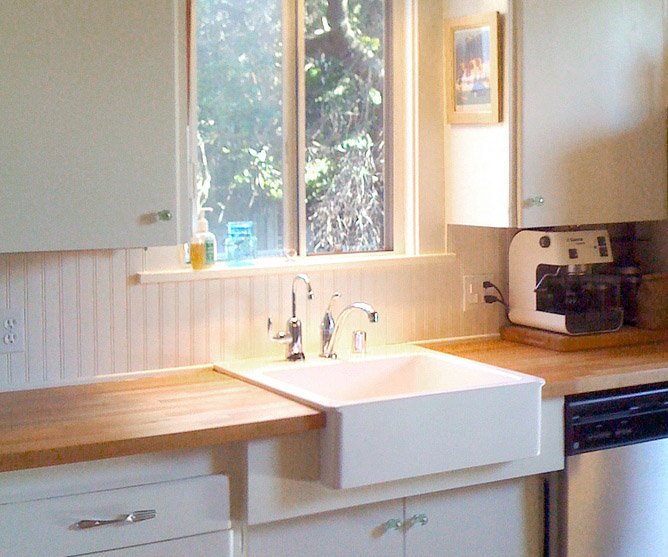
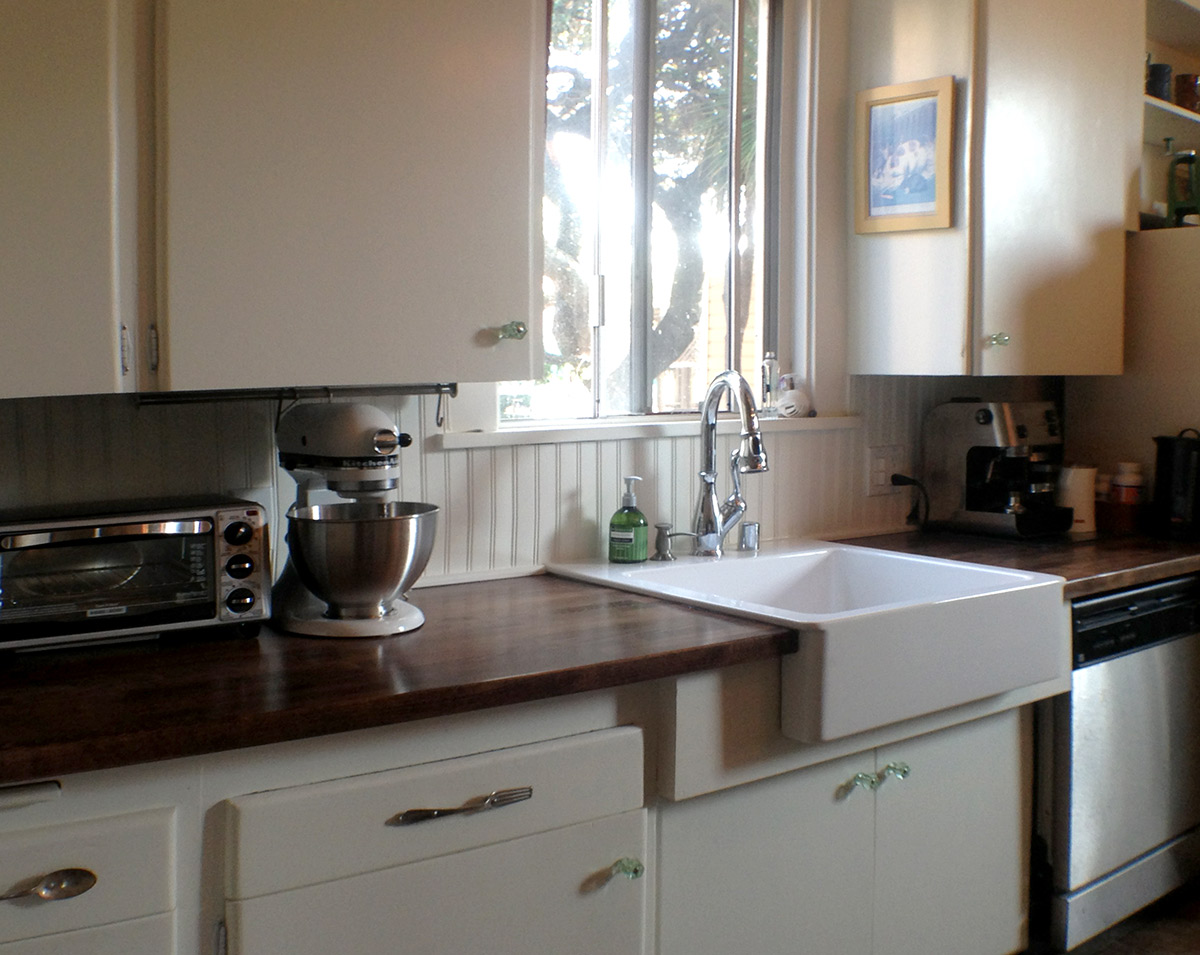
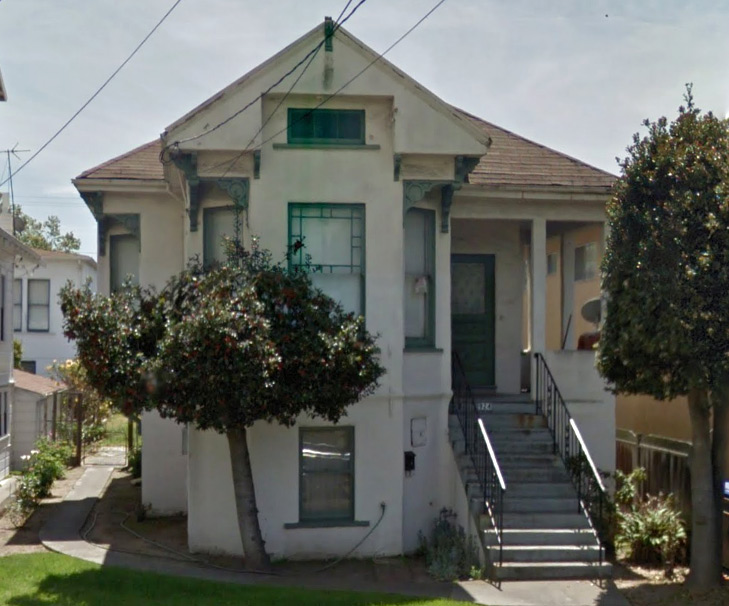
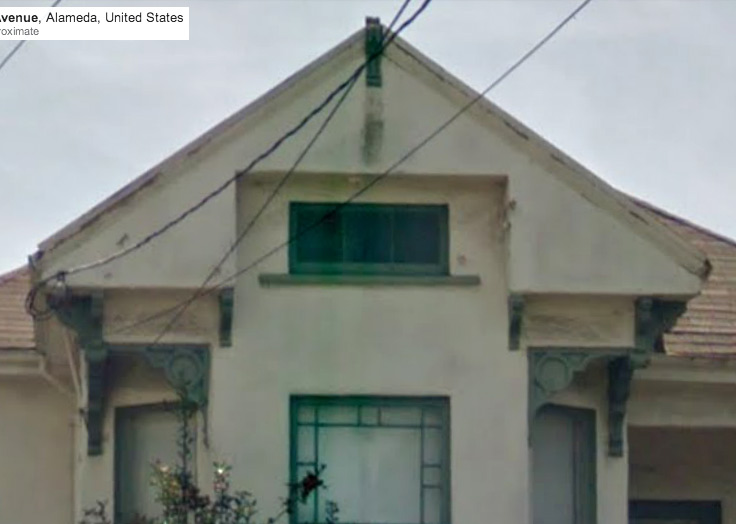
It’s only been a year and a half since we last reported! Well, when you’re not gainfully employed you don’t have the funds for house projects, even DIY. But yer girl has a job now, so let the games begin. Like the last house, this one has had some “makeovers” over the years… All well-intentioned I’m sure, but wow, some ugly choices have been made.

This neighborhood was working class and low income for the second half of the 20th century and many of the stately old houses had fallen into disrepair. In the early 90s our house was rehabbed and it reflects the style of the time. Unfortunately that meant textured ceilings and walls, and many mouldings removed. Mouldings like the ones on all the doorways of the main level. These passages were then lined with orange-peel drywall and nothing else.

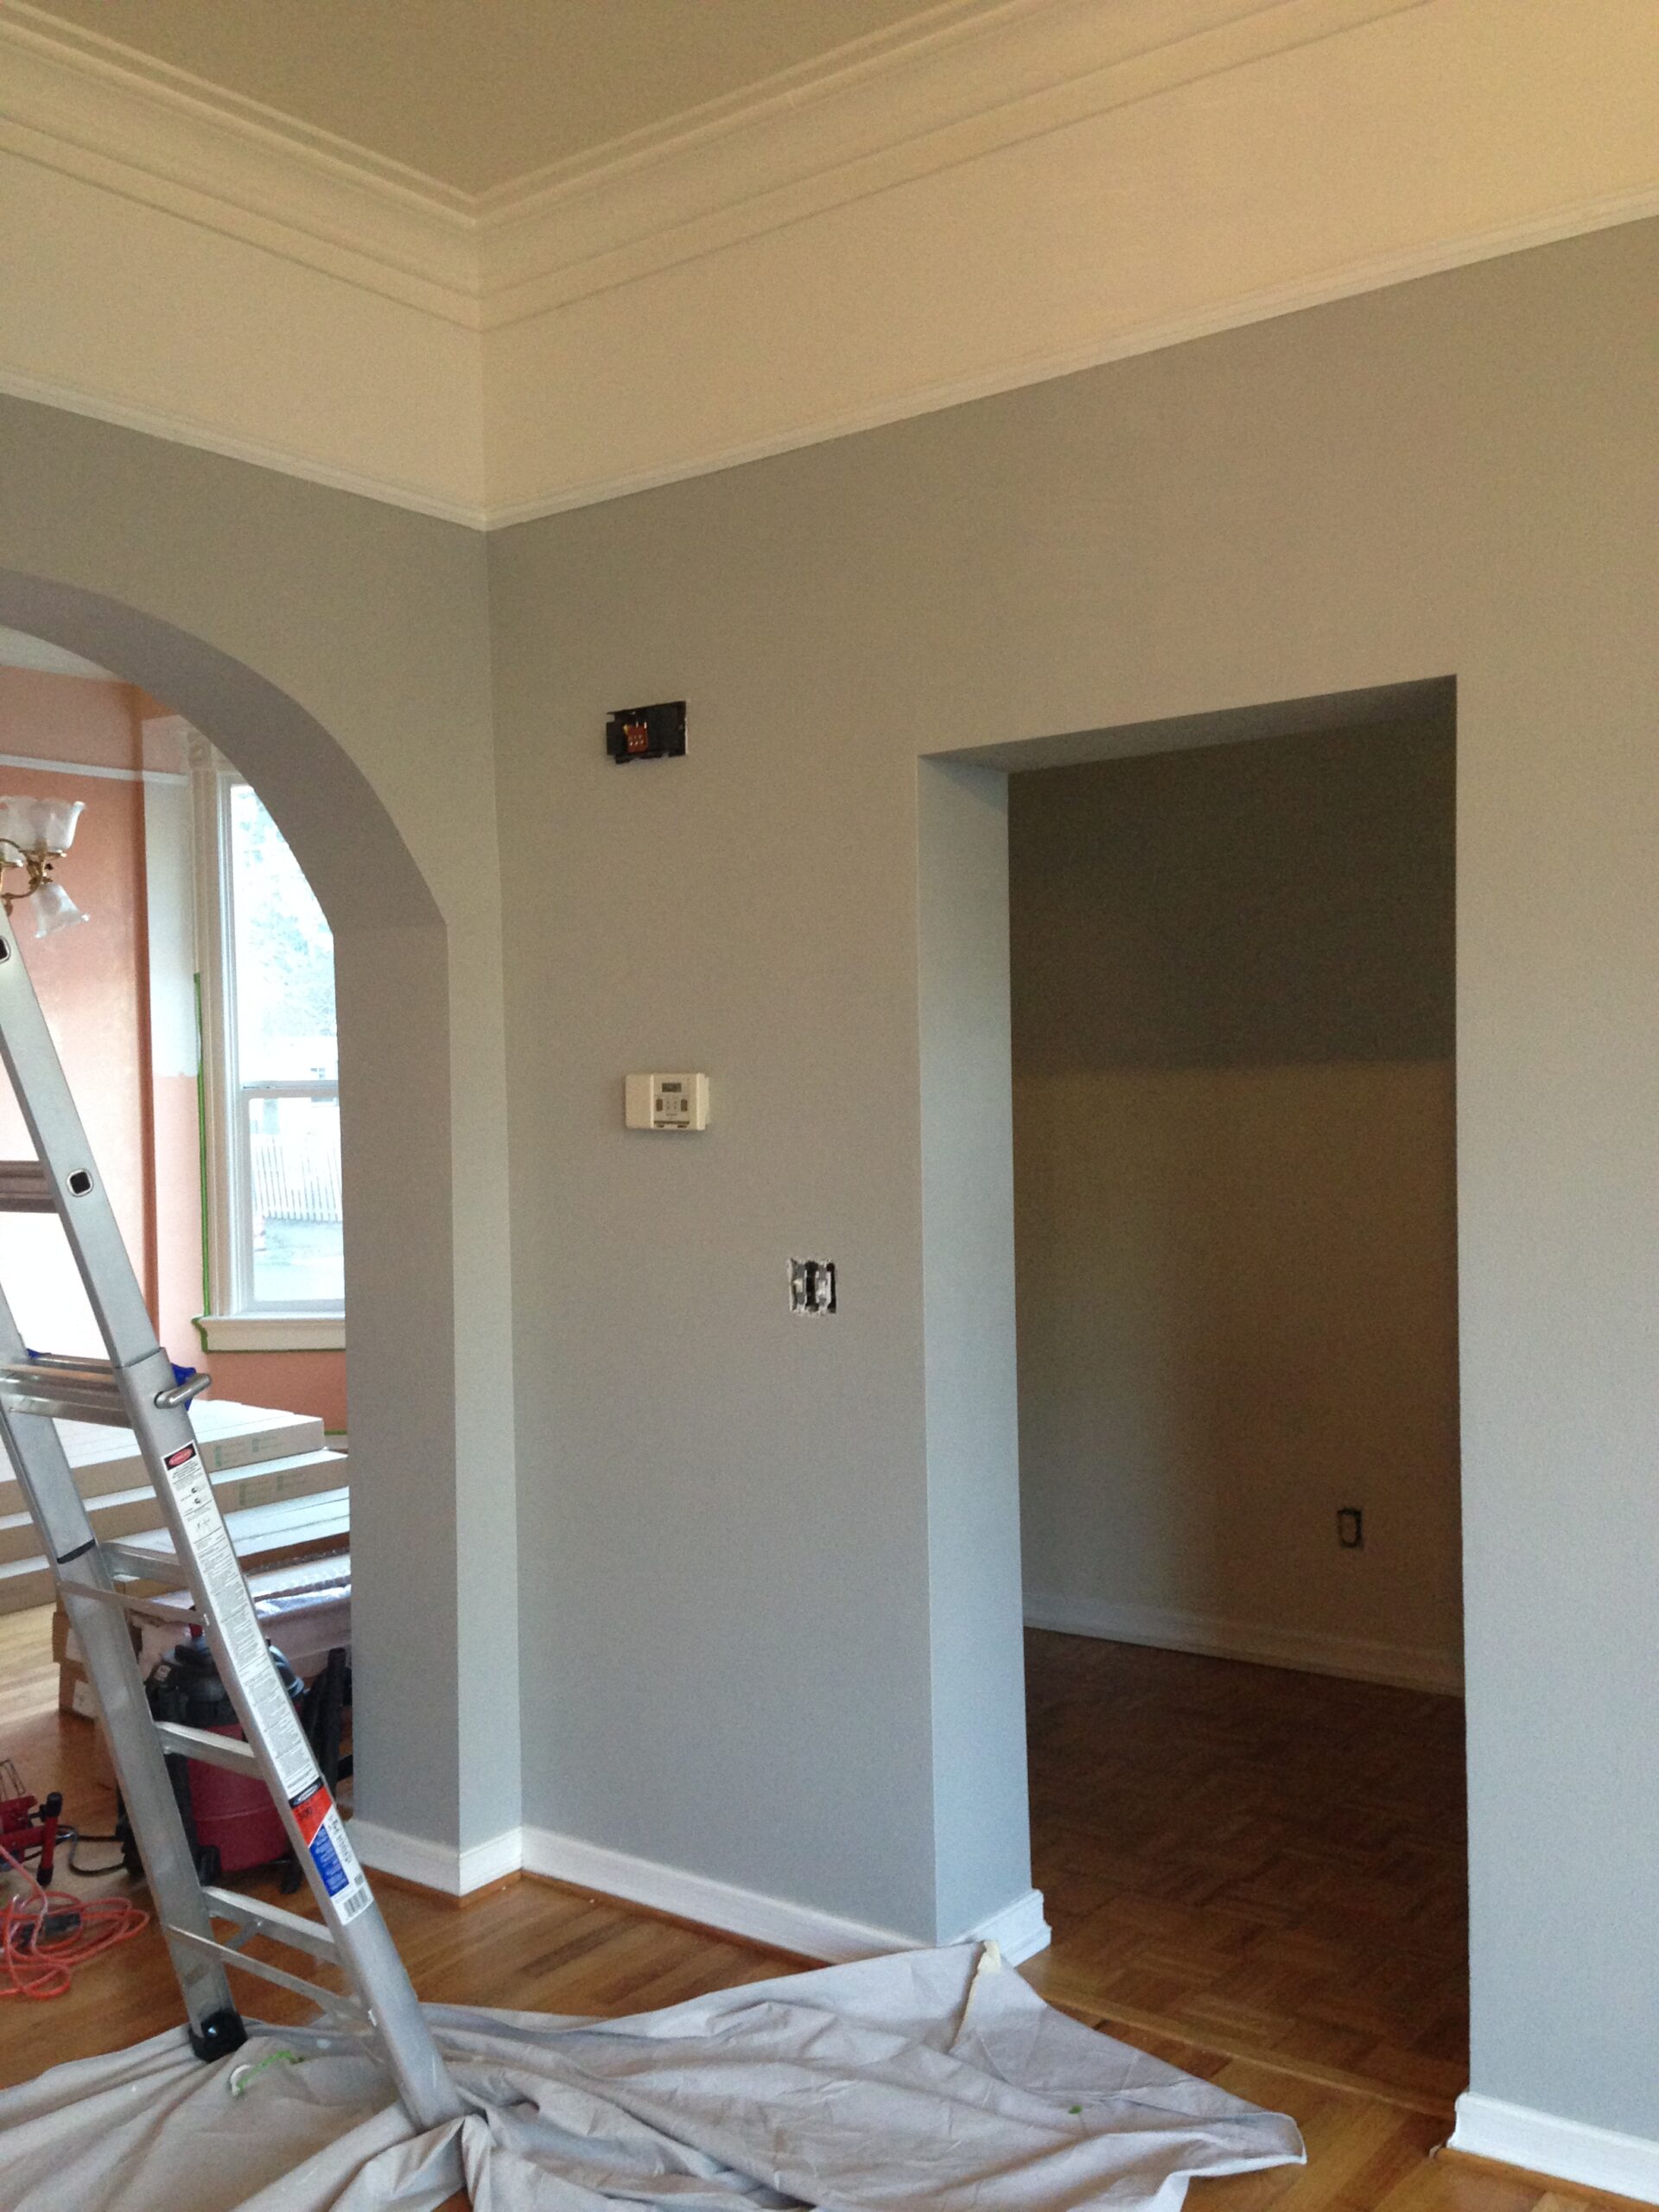
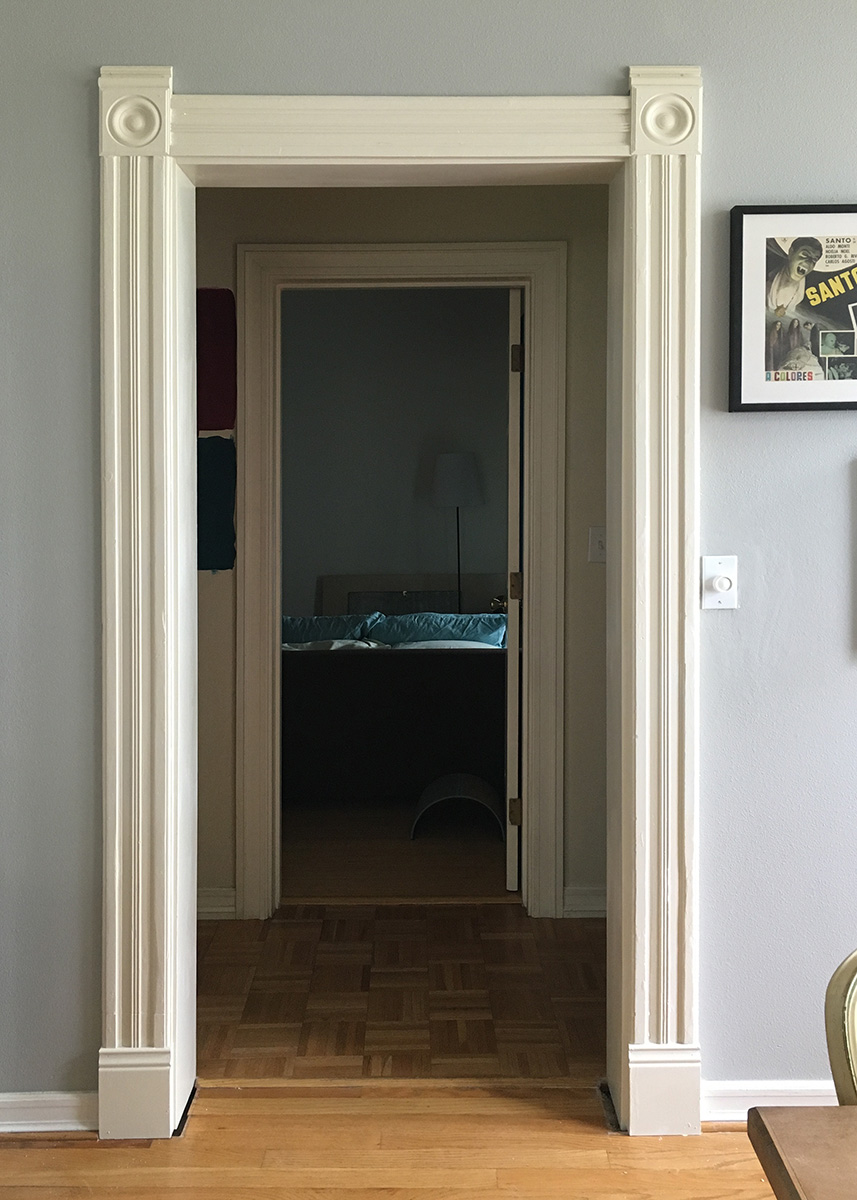
DON’T even get me started on that wonky arch over there. Actually do! This whole thing is really just a practice run for taking that thing down. I want to make sure I know how to frame a doorway before I tear the arch out. Anyway, check out this hideous dining room doorway behind my big head.

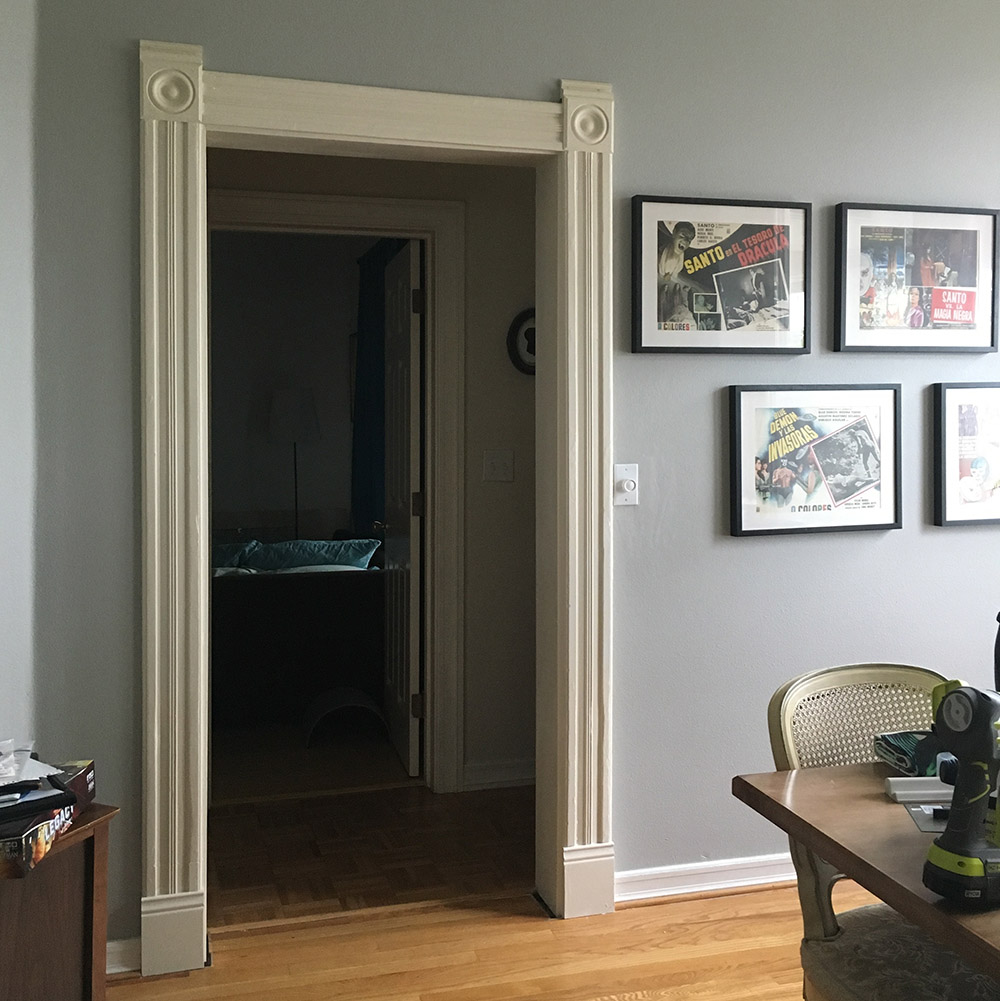
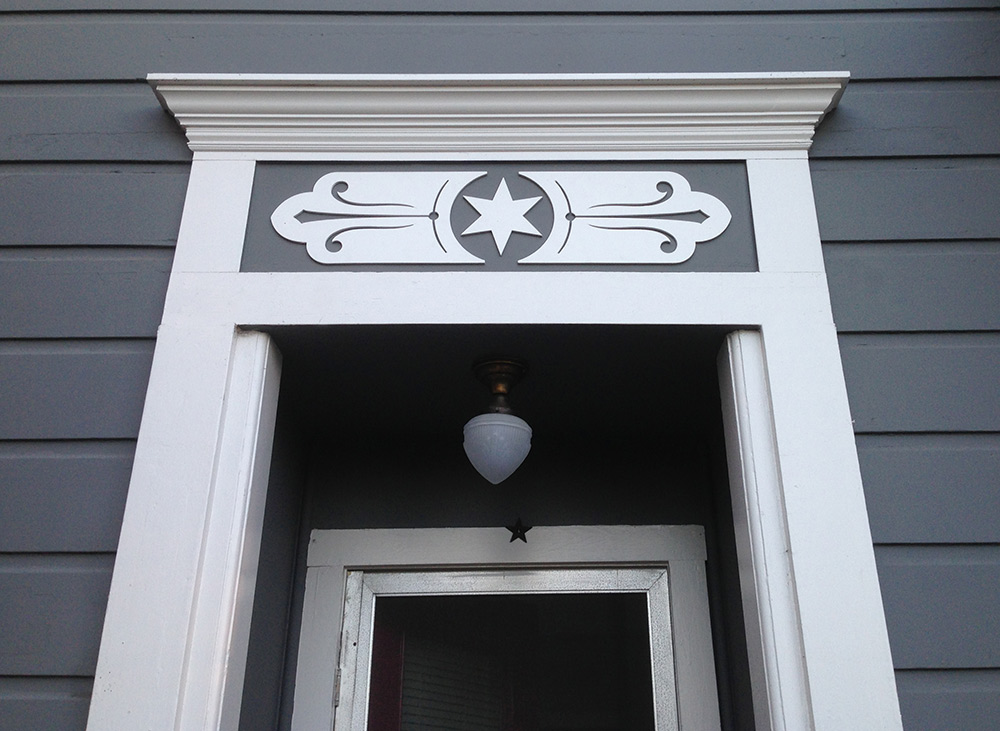
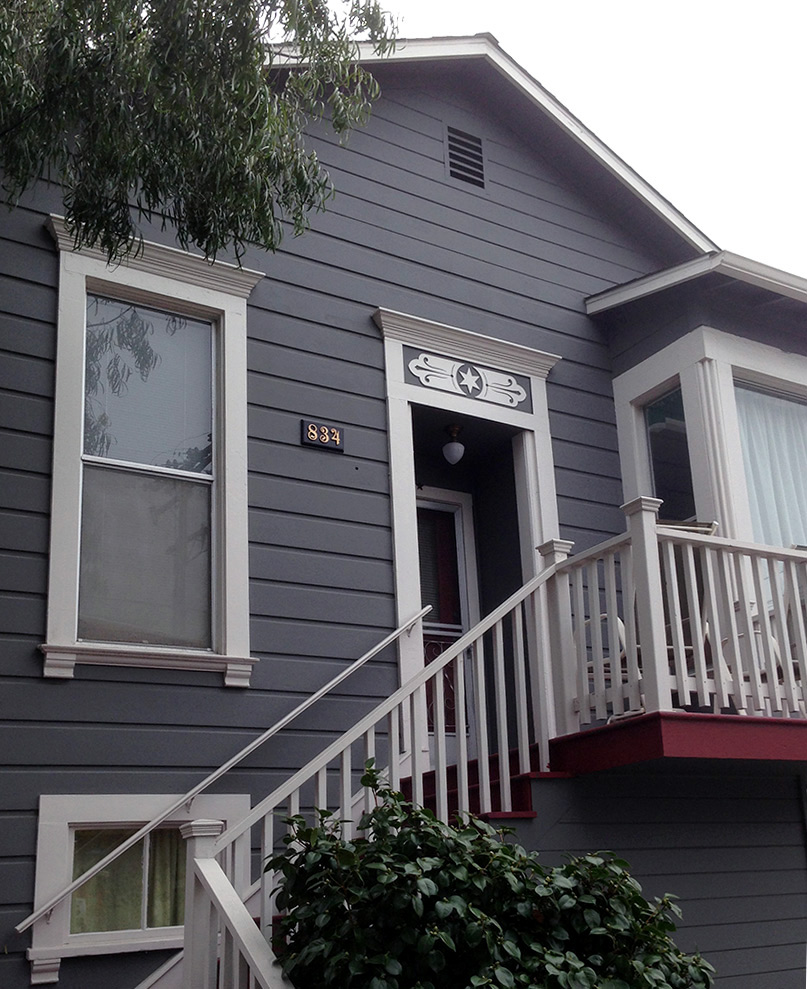
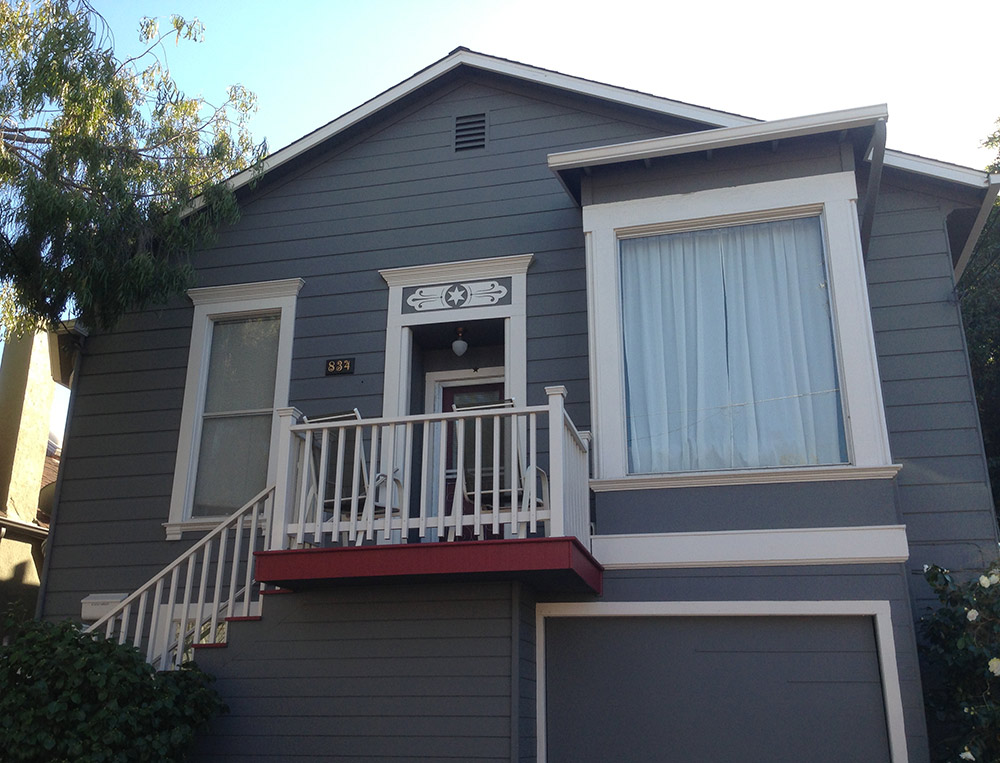
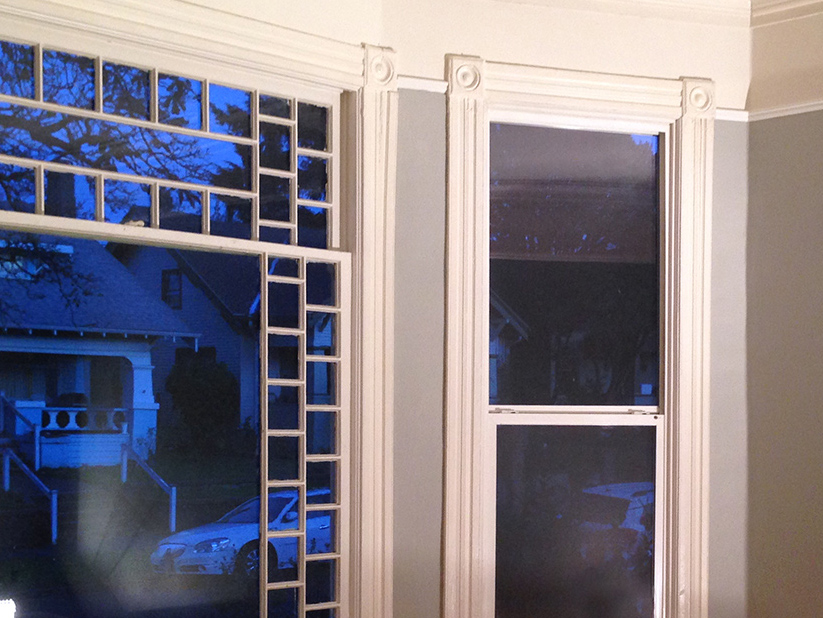
Not all of the house’s mouldings were purged. The living room windows still have the traditional casings and bullseye rosette corners, so it wasn’t hard to guess how the doors should look.

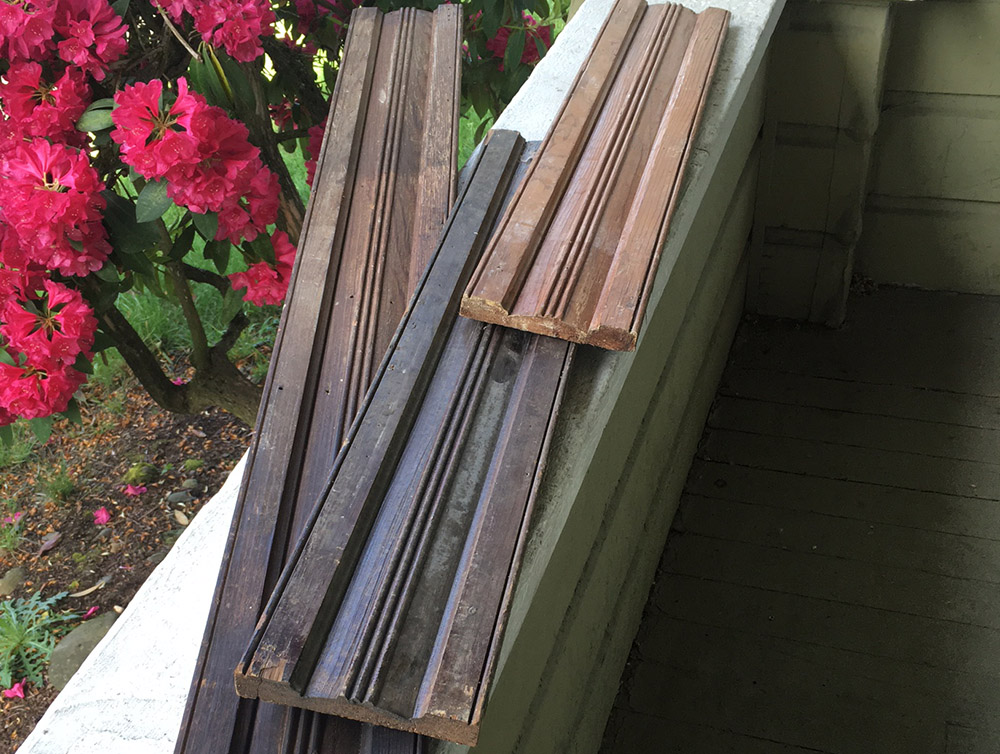
I’ve found moulding at two local salvage places that matches the profile of our window casings. It’s banged up and in pieces of various lengths and finishes, but the flaws seem appropriate to me for the age of the house. Every old house I’ve ever lived in has been well-worn and far from pristine, so to my mind, it fits.

I also found some corner rosettes of the correct size (5.25″) but they didn’t quite match so I bought some newly milled ones as well as some plinth lumber (for the base blocks) from McCoy Millwork. There’s better places for historical woodwork, but these guys are local and I could go in and figure out exactly what I needed in a hands-0n way.

We begin by tearing out the drywall where the door jamb should be. There was good old framing wood beneath it, but it was far from square. Witness my attempts to shim it into a right angle:

Once the jamb is nailed solidly into the framing, then it’s just a matter of applying the appropriate casing around it to cover your tracks.

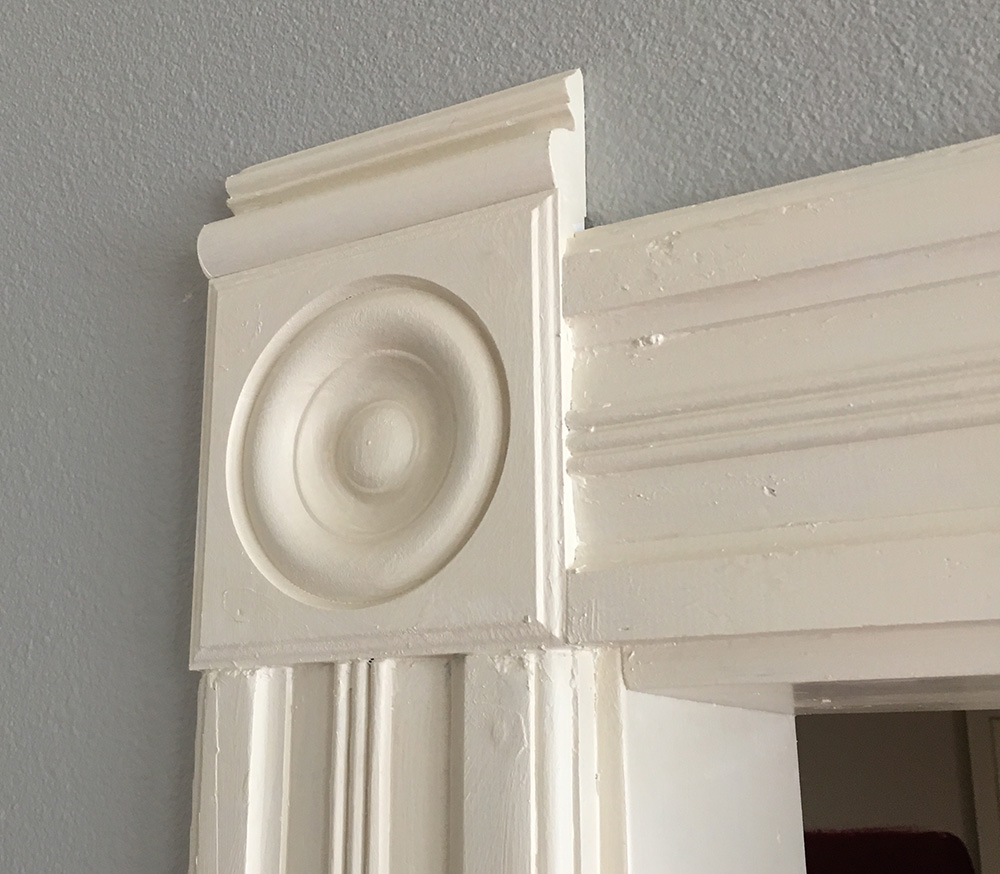
I added the little crown piece to the top of the corner block because I’ve always liked that look. You can see the many dings and holes that the lumber has, but again, that just makes it look to me like it’s always been there.

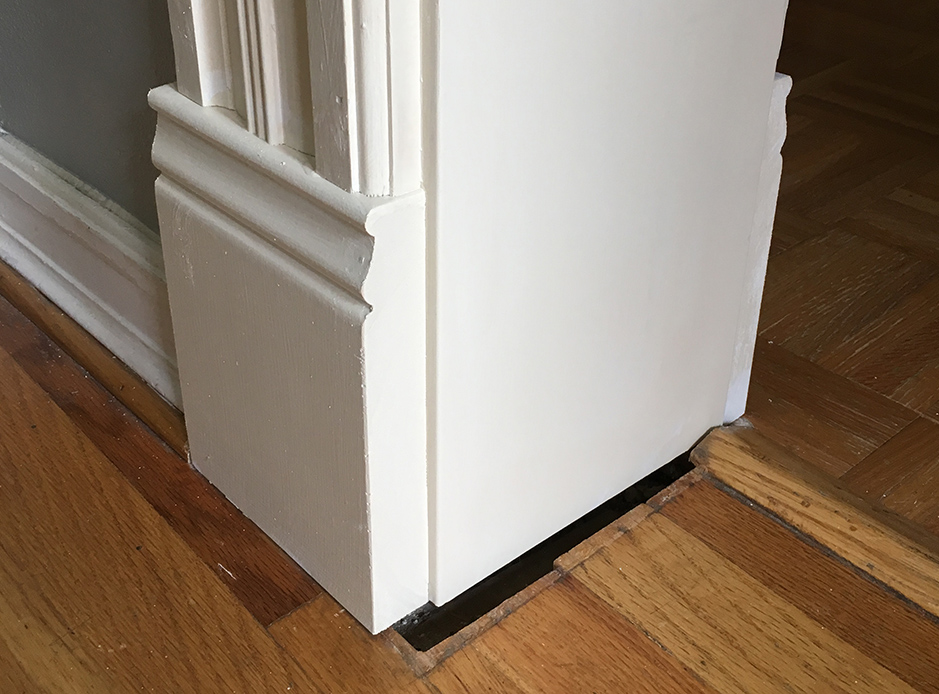
One problem though: The flooring doesn’t extend to the wideness of the new doorway. The drywall that had lined it was really thick and in removing that we’ve gained about a half-inch on either side. I may just throw down some oak quarter-round to cover it.

The Petch House is for sale

petch

The Petch House is a 3000 sq ft, 1895 Queen Anne in Eureka, CA. It’s named for the original owners, Thomas and Phyllis Petch.

I know of this house because Greg DeBacker bought it in 2002 and blogged about his renovation from 2005 until 2012, at which time the site went silent. He did an incredible amount of work on what started as the neighborhood crack house, and documented most of it on the blog. It’s one of my favorite house blogs ever because it’s thoughtful, dirty, and has a beautiful and meticulous attention to detail. This entry gives the history of the house.

I don’t know what happened between 2012 and now, but the house has come up for sale. I hope it’s being sold for some fantastic reason, and I hope all Greg’s hard work felt worthwhile. It really looks like it was.

More changes

Life has been more complicated than I really indicated in my last post. I got laid off from my job shortly after we got the house, so since then I’ve been picking up freelance design work and thinking a lot about my future. I’ve decided to try doing real estate. I’m about halfway through the study now, and I’ll hopefully be licensed as a broker by the end of the year. It’s not so much that I want to sell things to people, it’s more that I love old houses and want to see them in the hands of people who want them as badly as I do. So we’ll see. It seemed like something a lady my age is inclined to do, and I would like to work for myself at some point.

In the meantime, my sweetheart has been supporting us by continuing to commute to the Bay Area during the week. It’s been stressful on us (him, much more so), but he has a good job that’s given us insurance and enough to get us by while I’m not earning much.  He’s a trooper. Because of our limited income, we’re on a strict budget that hasn’t allowed me to start all the projects this house is clamoring for. So I guess what I’m saying is it’s going to be slow going for a while.

We did a bit when we moved in but my list still includes:

  • Paint all the rooms!
  • Replace missing moldings
  • Get rid of weird 90s arch where pocket doors should be
  • Get exterior repainted
  • Completely redo kitchen
  • Enlarge upstairs bathroom & add laundry
  • Update downstairs bathroom
  • Repair window flashing
  • Etc.

So you know, stay tuned for the next several years! No rush here.

Hello Portland!

photo 4

Hi guys. As I mentioned, we moved to Portland from Alameda last July. It’s had its ups and downs, but it was definitely the right decision. In December we moved from our temporary apartment to the house we bought in the Piedmont neighborhood of North Portland. Portland is crammed with bungalows and Edwardian-era four-squares and I didn’t think we were going to end up in another victorian, but we did.

We found it quickly, but we only got it through bargain shopping and luck. It had been a rental for a few years and was a little beat up, the owners lived out of town, and it may have been priced a little high at first, so it was languishing on the market. We scooped it up with the help of a very sharp real estate agent.

I was hugely excited about the photo above (a digitally produced copy of the original) that came with the house. I don’t know who those people are, but they are presumed to be the first owners. I like to think about the place being haunted by squealing teen girls.

You can see from the pictures below that it got a bit craftsman-ized along the way, to better match the majority of the homes in the neighborhood. I have mixed feelings about that – it lost a little bit of the millwork and some of the stained glass, but it gained a big porch.

house1

This is an insane house for us. It’s not a mansion, but it’s more house than we EVER conceived of owning in the Bay Area. We weren’t looking to go bigger, it just happened to be the bargain when we set out to look. So our new mortgage isn’t as small as we’d hoped it would be by moving, but it’s less money for about twice the square footage.

side

These are MLS photos from some time ago (despite the 2014 watermark), and the paint job isn’t in good shape anymore. There’s a whole lot we want to do to this place, but money is a little tight right now – because of reasons I’ll get to soon. I’ll try to update a little more frequently! Thanks for visiting.

2014-09-24 18.55.12

I’ll miss you, sweet house.

So hey guys, sorry it’s been so quiet. We sold our house and moved to Portland, Oregon. (!)

We’d talked about leaving the Bay Area for a long time. The reasons were many. The decision was hard. But I miss my house!

As you may know, the Bay Area is going through a bubble, making real estate very valuable and making it perpetually harder to live there. We’re not getting any younger and we realized that if something happened to either of us we’d be financially screwed – almost no margin for error. So we made the decision to leave the places and people we’d both grown up with and set out for greener (literally) pastures.

We wanted to be ready to sell by the summer season and we made it. The same realtor we bought it with sold it for us last June and with all the work we’d done on the place we got a lot of offers. Selling a house is hard, both emotionally and physically but it went well. Moving to another state is hard too. The whole thing was tough but I’m glad we had the option to improve our situation.

The first six months in Portland were spent in an apartment that we rented sight unseen. It was a perfectly nice little box with zero soul, but it gave us the chance to look around and figure out where we wanted to be. We found a very good real estate agent through a co-worker who gave us the lowdown on neighborhoods and took us out. We ended up negotiating a good deal on the first house we made an offer on. Our agent fought hard for us and we got a new roof and new plumbing out of the deal. So where do we live now? Another 1890s Victorian!

I’ll show you around next time. I just wanted to get this update out, finally. It was hard to write. Thanks for showing up.

The long-awaited bathroom show and tell

bath2 I need to tell you that we’ve moved. That’s why I’ve been offline so long. I’m sure the explanation of that (and introducing our new house) will make for a long post, but before I get to that I want to show the beautiful bathroom we finally made and left behind.

We were without a shower or upstairs toilet for about three weeks. We did have a toilet in the basement but it required going outdoors to get to. There was also a shower at my work that I used, but it was a sub-optimal situation overall. But that’s what happens when you have to replace a whole house’s worth of 60+ year old galvanized plumbing in addition to a stripped-to-the-studs remodel (with bonus discoveries of rotted wood!).

So what did we finally do? Whole room, 4-feet high of plain white subway tile with a bullnose edge and a single stripe of smaller Carrara marble near the top. The subway was simple and cheap. The marble was more expensive per, but obviously a much smaller amount was needed. The floor is 2-inch white porcelain hexagons. 2-inch was not the easiest to find but I thought the scale would work better than 1-inch since the room is pretty big. I found it for $4.25/sq ft from a website but they were backordered and I needed it quick so we ended up paying almost $2 more locally. That said it went for as much as $10 per square foot locally, so I feel like we paid a fair price.

bath1

Going in I wanted a separate tub, preferably clawfoot, and Randall wanted a snazzy Japanese toilet. Our compromise was getting both. The tub is one of the basic packages from Vintage Tub & Bath. Very happy with it. After looking and pricing Randall scaled back a bit from the super-sentient mecha robo-toilet he had been dreaming of and we selected one that is a nice, fancy-flushing, 1-piece skirted toilet somewhere between classic and modern: the Toto Eco Soireé. As much as I like antique fixtures I don’t think a toilet needs to be period-correct and the design of this one will make it easy to clean (a toilet priority). We got a pretty good deal on it – don’t let the list prices on this stuff fool you.

2014-02-27 14.08.18

Frameless shower enclosure by Vigo by way of Amazon.

2014-02-18 17.50.58


Since the sink we had was so new we reinstalled it. You can’t see it here but tucked in to the left of the sink and that little grey wall was a stacking washer and dryer. Turns out the bathroom is a really convenient spot for laundry.

2014-02-22 22.52.09When it was finally done this became everyone’s favorite room in the house, including Mooncookie. Gosh I miss that bathroom. We only had it for a couple of months!


Kitchen and bath and stuff

pinky

I’m way overdue for a kitchen reveal but things just keep getting in the way. Today that thing is that some dudes are tearing apart our bathroom! We decided to finally do it and our construction guys were available (nope, not DIYing this). And then we realized we needed to finish the bathroom before a family party in early February, so the last week has been a mad rush of ordering supplies and clearing out the bath and laundry rooms.

Goodbye pink bathroom. You were darling yet gross, and you’ll be gone by the time I get home today. They’re supposed to finish in under three weeks so I’m sure I’ll post progress pictures soon.

The spot above the door

Remember this spot?

blank

I finally got around to laser cutting the panels for above the front doorway. There’s something about the front of this house that just never looked like the front and I wanted to fix that. Click here to see the progression til now.

after4

The panel didn’t come out exactly like I pictured it, but I like it. I mean, I’ve definitely seen weirder and more awkward original millwork on California victorians, and it adds some much-needed flair. I may still add an applique to the center to give it more dimension.

There were limited material options available for laser cutting, none of them really ideal. I chose plywood despite it being less than ideal. But I had already made the house numbers from MDF (reputed to turn to oatmeal in the rain) and they seem to be doing fine with only moderate protection.

painting

I got some serious oil-based primer and gave it three sloppy coats, plus house paint. It should last a few years anyway. Here’s another before and after:

blank2

side-after

after1

But now it REALLY needs a gable or something nice for that vent.


New wood

counter2

Wood counters. They’re cheap, they’re solid, and good looking, but man they get gross. They started out looking shiny and new (a relief after this). We’ve since used, oiled and waxed them for the last three years, cleaning as we go. And while it’s worked I got fed up with the crud and the dinginess. So I sanded off all the grimy buildup and frankly I don’t want to have to do that again. We don’t cut on them or abuse them, and they doesn’t have to last forever, but I need a lower-maintenance solution. Despite many people finding it an unworthy way to go, this post got me thinking about just varnishing it once and for all. So we did. We first stained with “Special Walnut 224.” I wanted a little contrast since the rest of the room is really light now.

counterstain

Two coats of stain, then we applied Varathane. I had used it years ago to clear coat veneered plywood for a desk, and it held up under heavy computers and weird art projects for over a decade, so I figured it would be okay for this. I was right. It’s tedious to apply though: evenly spread a coat, dry thoroughly, smooth with very fine sandpaper. Repeat five times. Pow, you’re done! It took a couple of days, but it turned out nice:

counterst

counterdone


Don’t let the dimness of the last photo fool you, that’s just fall on its way. I like them! The color is pretty and they’re so, SO much easier to work on now.

Down the block

downtheblock

About 6 months ago I went to an estate sale at this little house on the next block, looked around some and left. The house looked like someone elderly had lived there for many years and it suffered from what they like to call “deferred maintenance.” Soon after that the house went on the market and was sold. There are some photos on Zillow.

As you can see, it’s a victorian covered in stucco.

downthe2

They left some of the original windows and brackets, but that’s about it. I bring this up because we’re dogsitting for our neighbors and on our walk today I saw that renovations have begun. They appear to have gutted the house down to the studs (it may have needed that), are working on the foundation, and have REMOVED THE STUCCO. And this was hidden underneath.

downthestreet-after

Did they know all this time that it was under there? More or less intact? No really, have a closer look. CLICK IT!

downthe-after

Jeez. I want that.